The Busy Mom's Guide to Mess-Free Finger Painting

This post may contain affiliate links that earn commissions (at no cost to you) for qualifying purchases.
I have always dreamed of being the type of mom who proudly frames and hangs her children’s artwork. Levi will occasionally hold a crayon, but overall is not interested in creating art at this time. Understandable, since he is so little. Nevertheless, I set out to procure some art from the little whippersnapper because my walls were looking a bit bare.
I was eager to have some art, but decided that I was not interested in the chaos that came along with letting him freely fingerpaint. So I decided to try a version of a hack I had seen several times online; ziplock baggie fingerpainting. Here’s how we did it!
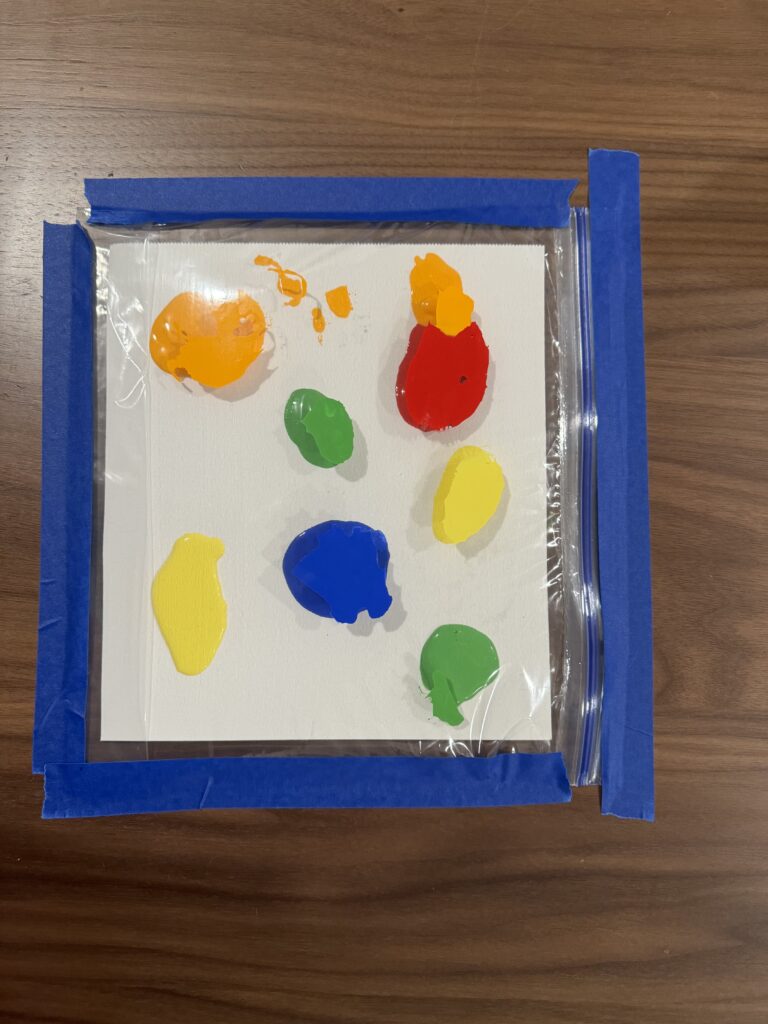
The first step is to take paper of your choice (I used cardstock) and put quarter-sized dabs of acrylic paint all across it. Once you are satisfied with the color scheme and layout, carefully insert the canvas inside a gallon-sized ziplock bag, trying not to get any paint on the outside of the bag.
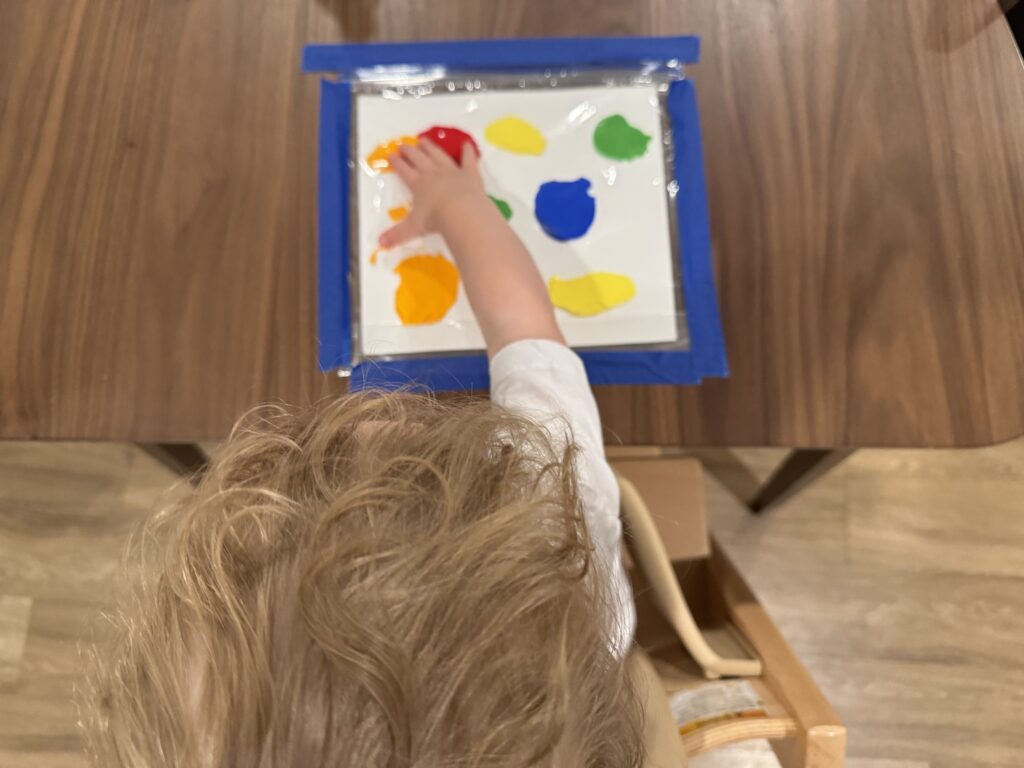
Next, zip the bag shut, making sure to get most of the air out. Also be sure it is securely closed, because I don’t want you to find out there was a gap in the bag in the middle of your toddler slapping paint all over the place. Secure the bag to a flat surface with painters tape, and let your little artist get to work!

Levi was very unsure, and needed some direction, but eventually he began smearing the paint around happily. It was a nice way to keep him occupied for a bit, and it couldn’t have been easier to clean up.
I would consider this a successful introduction into the art world, and I am so excited to be able to hang up the first of many projects from my little Picaso.


Love this! Never too early to be given the tools for a creative outlet♥️